Looking to begin your journey into Facebook Ads? Then the first step is educating yourself on the power of a Facebook Pixel!
Despite its reputation for being confusing, the FB pixel can be an invaluable tool when used correctly.
Although you may not be familiar with it, taking advantage of this incredible tool could help maximize your success in paid ads. To make things easier for you, we've put together this comprehensive guide that covers the following:
- What the Facebook pixel is
- Reasons you need to set it up
- How to add it to your website
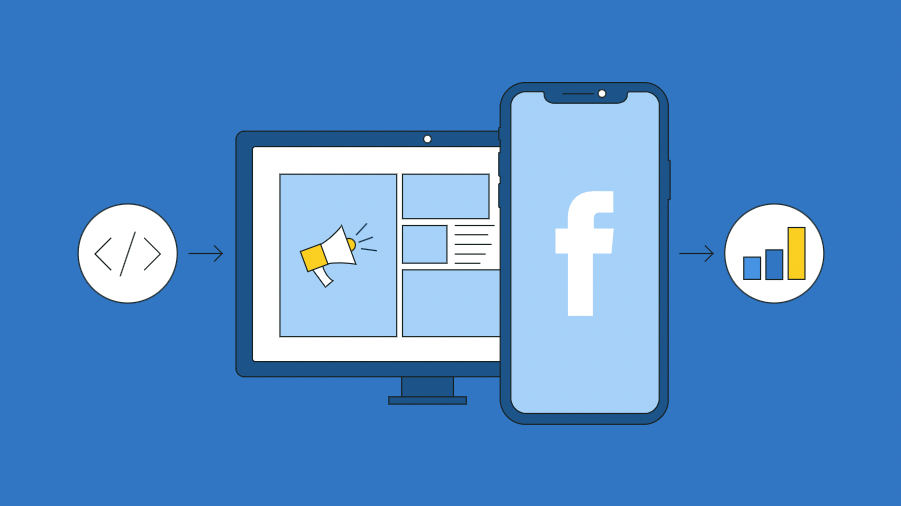
What Is the Facebook Pixel and How Does It Work?
The Facebook pixel, often referred to as the "retargeting pixel", is a JavaScript code that you embed on your website.
It carefully monitors the activities (known as “events”) that visitors complete while on your website.
If individuals find your website through a Facebook advertisement or another organic source like Google, then the FB pixel can capture data and retarget all previous visitors with targeted ads. This system helps increase conversions by providing potential customers with more personalized content that is tailored to their needs.
Here's an example:
Imagine a prospective customer who searches for shoes on Google and ends up landing upon your website. After looking through your shoe collection, they decide to add a single item into their shopping cart. That action has now been tracked by Facebook's pixel technology!
But that's not the only insight the pixel can gain. It has the capacity to accumulate data regarding everything from your newsletter sign-ups to searches conducted on your website.
When it comes to Facebook pixels, there are two main categories of events they track. To get a better understanding of these two distinct event types, let's explore each below.
Standard events
As the name suggests, Standard Events are those events that Facebook has already classified for you.
To date, there are 17 events that fall into the "Standard Event" category:
- Add payment info – Someone fills out their payment information upon purchasing your item.
- Add to cart – Someone adds an item to their shopping cart.
- Add to wishlist – Someone adds an item to a wishlist.
- Complete registration – Someone signs up for your email list, webinar, or another offer by completing a registration form.
- Contact – Someone contacts your business via email, chat, etc.
- Customize Product – Someone selects specific attributes of a product such as a color or size.
- Donate – Someone visits your donation page and donated.
- Find Location – Someone looks up your local store with the intention of visiting it.
- Initiate checkout – Someone clicks the checkout button to buy your product or service.
- Lead – Someone submits their information, allowing you to contact them in the future.
- Purchase – Someone completes a purchase on your website and receives a purchase confirmation or receipt.
- Schedule – Someone books an appointment at your location.
- Search – Someone performs a search on your website using your search bar.
- Start trial – Someone signs up for a free trial of your product or service.
- Submit application – Someone applies for your program or service.
- Subscribe – Someone pays for a subscription of your product or service.
- View content – Someone views a page on your website. (Take note that this standard event does not track a person’s actions on the page.)
Custom conversions
Not only can you track standard events with custom conversions, but you can also get granular data to measure even more specific actions.
For instance, what if you wanted to keep tabs on the sales of your summer sneaker collection, bags and hats? All while keeping track of their total dollar value? Well now that's possible with custom conversions.
Bottom line: the Facebook pixel is an essential tool to unlock a comprehensive understanding of your target market and their customer journey.
Why Do You Need the Facebook Pixel?
Installing the Facebook pixel gives your business two invaluable advantages. It allows you to monitor important metrics and develop successful ads, but also helps maximize Return on Investment (ROI). Now let's get into the specifics of how it can improve your ads.
1. Build website custom audiences to retarget.
By leveraging the power of Facebook pixel, you can create targeted ads and show them to people who have already visited your website. This is a great way to boost engagement and encourage repeat visits!
This marketing approach, known as retargeting, not only increases brand recognition but also leads potential customers further down the sales funnel. Retargeting is an incredibly effective tool that has proven successful for countless businesses.
2. Create lookalike audiences.
Are you looking to target audiences that match the characteristics of your existing customers? If so, Facebook Lookalike Audiences offer a great way for you to expand your reach and connect with more people who are similar to the ones already engaging with your business.
Creating a lookalike audience is the perfect way to expand your reach and connect with new potential customers that share similar qualities as those in your existing database. To make this happen, you must first have an established source of data such as a custom audience list or website visitors' contact information. Then, using Facebook algorithms based on several factors like demographics, interests and behaviors observed from other users into consideration, you can generate tailored audiences that are most likely to engage with your content.
3. Track the success of your Facebook ads.
Are you wondering if your Facebook ad campaigns were successful? With the pixel code installed on your website, tracking the conversions that resulted from those ads is effortless! This allows you to have a better understanding of how effective or ineffective they are.
You can even trace the journey your customer took from initial ad view to purchase with ease, no matter which device they use. For instance, if a user saw an advertisement on their mobile phone first and then converted on a desktop computer later; you'll be able to track that transition seamlessly!
4. Get repeat customers.
Reaching out to previous customers is just as instrumental in growing your business revenue as acquiring new ones. After all, loyal customers are more likely to purchase from you again and again - making them an invaluable asset! Tap into the power of retargeting to generate multiple purchases from your customers! With Facebook's pixel, that is now a possibility.
5. Better optimize your ad campaigns.
By leveraging the data collected by the pixel, you can easily identify and enhance any ad campaign that is not reaching its desired impact. Ad insights give you an opportunity to maximize your return on investment while optimizing your online advertising efforts.
You may come to the realization that you must enhance your landing page, website or advertisement based on your current conversion rate.
How to Add the Facebook Pixel to Your Website
Now that you have a better understanding of how the Facebook pixel can positively impact your business, it's time to install it on your website.
1. Create your pixel.
To kick things off, navigate to Facebook Events Manager and select Pixels. When naming the pixel, make sure it reflects your business accurately.
2. Add the pixel code to the back-end of your website.
After you have successfully created and named your Facebook Pixel, it is time to embed the code onto your website. There are three options to choose from depending on your level of technical experience:
Add code using a Partner Integration
Are you using WordPress, Shopify, BigCommerce or any other ecommerce platform? You don't need to manually modify your code - Click here to view Facebook's article on pixel setup using partners that gives you the step by step instructions.
Manually add pixel code to website
To install the pixel code at the bottom of your website's header section, you must first locate the corresponding header code on your website then paste the code Facebook provides at the bottom of the header section, just above the closing head tag.
Email instructions to a developer
If you don’t have direct access to your website's code or are working with a developer, Facebook provides a set of straightforward instructions that can be easily shared.
3. Check that your Facebook pixel is working.
Before you finish you'll want to use the Facebook Pixel Helper to ensure it's properly functioning.
The Pixel Helper tells you:
- If a page has a pixel installed in it
- How many pixels are on the page
- The events found on the page
- Whether the pixels are working correctly.
If any issues arise with your pixel, Pixel Helper will let you know immediately so that you can quickly fix the problem.