Learn how to create and set up a Google Ads account with this step-by-step guide. Perfect for small business owners looking to boost their online presence and drive targeted traffic to their website.
Understanding Google Ads: What is it and why do you need it?
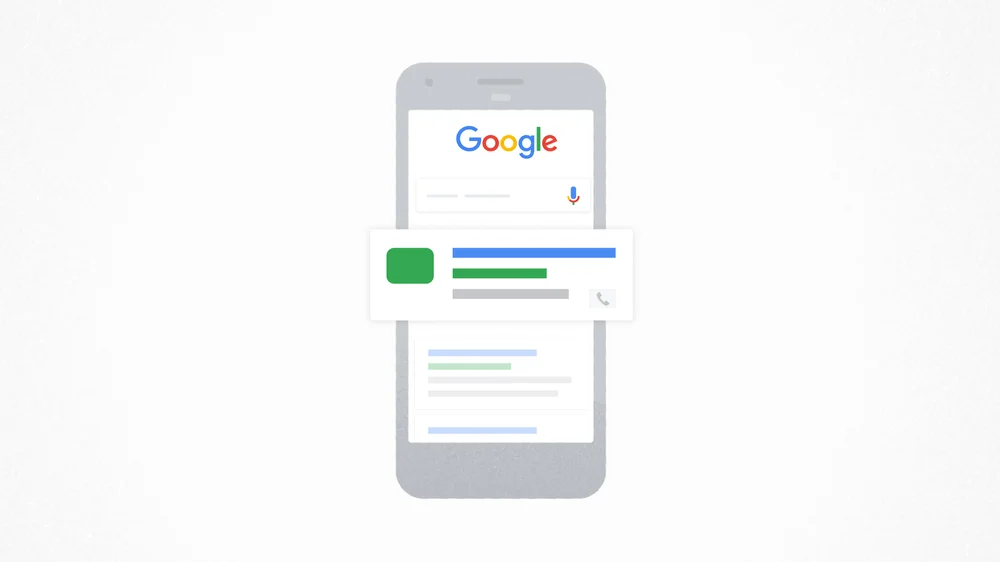
Google Ads is an online advertising platform developed by Google. It allows businesses to display their ads on Google search results pages, YouTube, and other partner websites. With Google Ads, you can reach a large audience and promote your products or services effectively.
Small business owners can greatly benefit from using Google Ads. By advertising on Google, you can increase your online visibility, drive targeted traffic to your website, and attract potential customers. Google Ads offers various targeting options, allowing you to reach the right audience at the right time. Whether you want to increase sales, generate leads, or build brand awareness, Google Ads can help you achieve your advertising goals.
Step 1: Sign up for a Google Ads account
To get started with Google Ads, you need to sign up for an account. Here's how:
1. Go to the Google Ads website (ads.google.com) and click on the 'Start Now' button.
2. Sign in with your Google account or create a new one if you don't have an existing account.
3. Follow the on-screen instructions to set up your account. You'll need to provide some basic information about your business, such as your website URL and location.
4. Once you've completed the setup process, you'll have access to your Google Ads account.
Step 2: Set up your billing information
Before you can start running ads on Google, you need to set up your billing information. Here's how:
1. Sign in to your Google Ads account.
2. Click on the 'Tools & Settings' icon in the upper right corner and select 'Billing & Payments' from the dropdown menu.
3. Follow the instructions to add your billing information, such as your credit card details or bank account information.
4. Once your billing information is set up, you can start creating and running your ads.
Step 3: Define your advertising goals
Before creating your first Google Ads campaign, it's important to define your advertising goals. What do you want to achieve with your ads? Here are some common advertising goals:
- Increase website traffic: If your goal is to drive more traffic to your website, you can create campaigns that focus on generating clicks and visits.
- Generate leads: If you want to capture leads and collect contact information from potential customers, you can create campaigns with lead forms or call-only ads.
- Boost sales: If your goal is to increase sales, you can create campaigns that promote specific products or services and encourage users to make a purchase.
By defining your goals, you can tailor your ads and campaigns to achieve the desired results.
Step 4: Create your first Google Ads campaign
Now that you've set up your Google Ads account and defined your advertising goals, it's time to create your first campaign. Here's how:
1. Sign in to your Google Ads account.
2. Click on the 'Campaigns' tab in the left sidebar.
3. Click on the '+ Campaign' button to create a new campaign.
4. Select the campaign type that aligns with your advertising goals. For example, if you want to drive website traffic, you can choose the 'Search' campaign type.
5. Follow the on-screen instructions to set up your campaign. You'll need to provide details such as your campaign name, budget, targeting options, and ad creatives.
6. Once your campaign is set up, you can monitor its performance and make adjustments as needed to optimize your results.